Showing posts with label DIY. Show all posts

Thursday, April 11, 2013

Personalized mason jar glass DIY

Today, my friend Emily announced the dates for the next Flourish retreat. In her post, she also included the contents of the last retreat's welcome bag, including the personalized mason jar glasses I made.

I've been working on a post about my journey to Flourish (I went to the first retreat--yes, I am one of the women who took a leap of faith and traveled across the country to spend a weekend with people I had never met), but for today, I'll share with you the details on the mason jars glasses.

After the first retreat, I knew I wanted to do something to contribute to the second retreat. My mom, my dad, and I have been to Via de Cristo retreats, which are based on Spanish Catholic Cursillo methods, and have retained a lot of the Spanish influences, one of them being the concept of palanca. Via de Cristo retreat participants receive symbols of palanca throughout their weekend in the form of notes and/or trinkets, but palanca is really prayer for the participant. So these mason jar glasses were my palanca for the women of the second Flourish retreat; I prayed for Emily, KK, and all of the women who were going to be at Flourish as I made them.

I also knew that I wanted to do something that would be useful for the women while they were at the retreat. Since we mostly marked our names on disposable cups at the first retreat (with the exception of Emily's grandmother's awesome vintage peanut butter glasses), I thought it would be useful to do personalized, reusable glasses, and since the retreat has a rustic/vintage/shabby chic vibe, mason jars were perfect. 

So. I'm sure you've seen 1,001 types of mason jars and 1,001 things you can do with them all over Pinterest. If you're buying them new at the store, they generally come in packs of 4-12--they usually have the brand name on one side, a picture on the other, and then measurements somewhere in between, so they're kind of busy to begin with. Therefore, I opted to go for Ball quilted jelly jars, which are sold individually (at least at Joann's, which is the only place around here that I've seen them). 

For the personalization, I used Martha Stewart Crafts Glass Paint, which is supposedly cured and dishwasher safe after 21 days, or by baking in a 350 degree oven for 30 minutes (I opted for the second option). I used the gloss opaque finish in Pool, Camelia Pink, Arrowhead, and Vanilla Bean (color not pictured below). Since I have perfectionist tendencies, I also opted for the Martha Stewart Crafts Adhesive Stencils instead of going freehand; I used the typewriter script and fair isle dot sets. Martha Stewart Crafts also makes a ton of other tools and accessories to go with their glass paints, including squeegees, pouncers and daubers, brushes, and scrapers, and I did actually buy a set of assorted pouncers, daubers, and rollers, but honestly liked the generic pouncer I already had (pictured below) better because it was more stiff and dried faster. I bought all of this stuff at Joann's or Michael's [with coupons].


The process was pretty simple: apply adhesive stencil to glass, dab the pouncer in a little bit of paint, dab it on the stencil, and remove the stencil before the paint is dry. I washed my stencils with water right away, and they held up through many uses.

I'd basically do the first letter one day, let the glasses sit for about 24 hours (Martha Stewart Crafts provided no guidance regarding how long the paint should cure before placing an adhesive stencil over it), do the second letter and the first accent the next day, and then do the final accent the third day. As I said above, they sell scrapers made specifically for removing paint from glass, but I found that a metal dental scraper worked just fine :) 


Another thing Martha Stewart Crafts would like to sell you is patterning tape. I did find that I wanted to cover up certain parts of the stencil designs, so I cut up pieces of the adhesive border on the film the stencils came on (see above).

Here's how the personalized mason jar glasses turned out:


Finally, let me say that the opinions on products mentioned in this post are my own, and not influenced by any sponsorship whatsoever (though if anyone wants to send me products to review, I'm game. Just saying).


Friday, March 29, 2013

Outside: Then & Now

When I introduced my Our house: Then & Now series last week, I said I'd be doing it throughout the next few weeks. At this point, I'm going to amend that to say that I'll be doing about a post a week over the next several weeks, as that seems to be a realistic pace for me with the [tidying up the house and waiting for some good light for] photography, editing, and writing involved. 

This week I'll share with you what you'd see first if you were coming over our place for a visit: the exterior.

The Front:
You can't see it, but the garage door was the same dingy white color as the front door. We also got rid of that car, too.

Then: Dingy white front and garage door, muddled grey siding and shutters, gold accents galore, overgrown bushes.
Now: Red front and garage door, grey/brown shutters, "brushed nickel" accents, and trimmed bushes.

And if you're really good at those "what's different" picture puzzles, you may have noticed that there are no shadows from tree limbs across the front lawn and driveway in the 2013 picture, and that's because [despite our opposition] the city came and cut down our boulevard tree last month (LG watched, saying "bye bye tree" and "uh-oh" every time a branch fell). And if you also noticed that there are less branches in the upper right corner of the 2013 picture, you're right, and that's because we [begrudingly] had to have the big black walnut tree in our backyard removed in 2011.


 Front details:

One spring day in 2011, AD decided that he could no longer deal with the fact that some of the red pavers that made up our little porch were cracking apart and falling off around the edges. So he did what any man would do while his wife was out running errands: he started ripping out the porch. During the process, he determined that the pillar was decorative, not structural, so that got ripped out, too.

So we picked out some grey/brown pavers, and he redid the porch and extended the pavers down the drive and back over to the house to create a flowerbed where there used to be grass weeds and mud. It doesn't look super attractive in the picture below, but we have daffodils (thanks Aunt N & C!), tulips and grape hyacinth (from my Nana's house), creeping myrtle and hostas (thanks to the Dubs next door), and lavender. 
 

The Back:


Back details:

Then: Dingy grey aluminum siding with patches of mismatched paint, AC unit, satellite dish, wires everywhere.
Now: White vinyl siding, no AC unit or satellite dish, small fraction of the wires. Plus rain barrel, baby swing (thanks to AD's mom & dad), and playhouse (thanks abcDe!)

AD discovered last year that part of our roof needed some repairs that would require him to remove siding. So, AD and his dad fixed the roof, and AD did the siding on the entire second floor of the house. 

I have to say, there's probably no way we could have afforded some of these projects if AD wasn't such a handy guy and we had to pay a contractor to do it. 

I'll try to post some pictures of our backyard later in the season when everything is [hopefully] nice and green--not brown and yucky, as it is now.


Up Next: 
AD would like to do redo the roof in a dark grey architectural shingle.


Tuesday, March 19, 2013

Our house: Then & Now


Yesterday was our third house-iversary. AD and I celebrated with Jimmy John's and getting our taxes done. Exciting, right?

What is exciting, in my opinion, is looking around our home and seeing how far it’s come in three years. Of course, if you asked my husband, he'd look around and see all that's left to do.

Taking both of these perspectives into consideration, throughout the next few weeks, I'll be doing a series of Then & Now posts to show what we started with, what our house looks like these days, and what’s left on our [never-ending] to-do/wish list.

For today, I’ll give you a bit of background information. AD and I moved out of the house we were renting and into a one-bedroom apartment in May 2009 to get serious about saving up for a house. In November, we started looking. And making offers. And getting turned down. That cycle went on for a couple of months. By the time we found our house, we’d looked at over forty houses and made six other offers.

At first, we weren’t even looking at houses in our city because we’d heard it had certain regulations for rental houses, and we wanted to be able to rent out our house if we ever needed to. But the other cities we were looking in didn’t have much left to offer in our budget, and time was running out on the first-time homebuyer tax credit, so we expanded our search.

Our realtor arrived before us and had basically written the house off before we even stepped inside on that first tour. It was a foreclosure, and in the upper range of our budget. There was a puddle on the hardwood floor in front of the kitchen sink. It had appliances, but they were ancient. It had two bathrooms, but one of them looked like it needed industrial cleaning before it could be used (or so we thought). And the whole place was filthy.

But… it had four bedrooms, two baths, a somewhat open floor plan, a fireplace, lots of storage in the kitchen, a basement, an attached garage, a fenced yard, it was in a nice neighborhood with a variety of older home styles and old growth trees, and we were willing to put in the work it needed. So we put in an offer and the bank eventually accepted.

However, the inspection revealed that one of the bathrooms needed more than a good cleaning—the shower had been leaking for years and some of the studs in the wall behind it were rotting. With this damage, the house would not qualify for a FHA loan, and in order to rip out and redo the shower so that we’d be approved for the FHA loan, we’d have to do a 203k rehabilitation loan in conjunction with the FHA loan. Which meant more paperwork, work, deadlines, inspections. But we were game.

The day we closed, the crocuses in our front yard were blooming, and AD was in short sleeves. Yesterday, we had a high of 28 and my bulbs were poking up through the snow. Last year, we had a high of 75. Crazy Michigan weather!


We would not have been able to complete any of the work on our house without:

AD's dad, who came up from Maryland to play the role of general contractor

My parents, who worked their wallpaper stripping, spackling, and painting skillz

Our old roommate, the trim-painting princess


Stop back soon for my first Then & Now post!


Wednesday, November 21, 2012

Harvest DIY

Well, if you were wondering if I'd fallen off the face of the Earth, the answer is no. Once the USB cord for my new camera arrives from Amazon (seriously, you spend hundreds on a camera package and they can't include a USB cord?), I have a little catch-up post waiting for y'all. 

But I will tell you this: last Thursday I got my tonsils and adenoids out, and I think they also took out my uvula (the hangy-downy thing at the back of your mouth) even though they were only supposed to shave and shape the thing. I basically had it all done because the sleep apnea and the ENT doctor both thought there was a pretty good chance that removal would cure my sleep apnea. The day of the surgery and the next day weren't so bad; though I couldn't sleep, it really only hurt when I swallowed. I thought, awesome, I've got LG going to daycare and I can get some stuff done around the house. But then the real pain started on Saturday and I've had to take it easy.

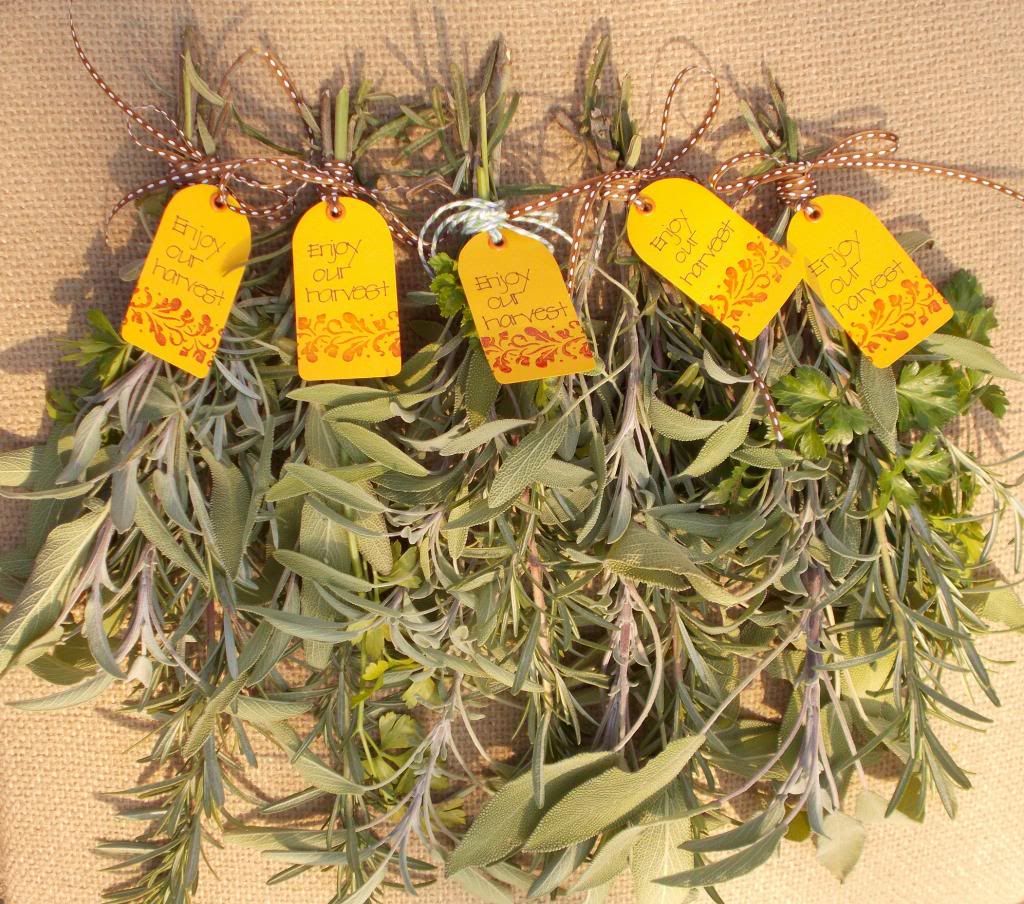
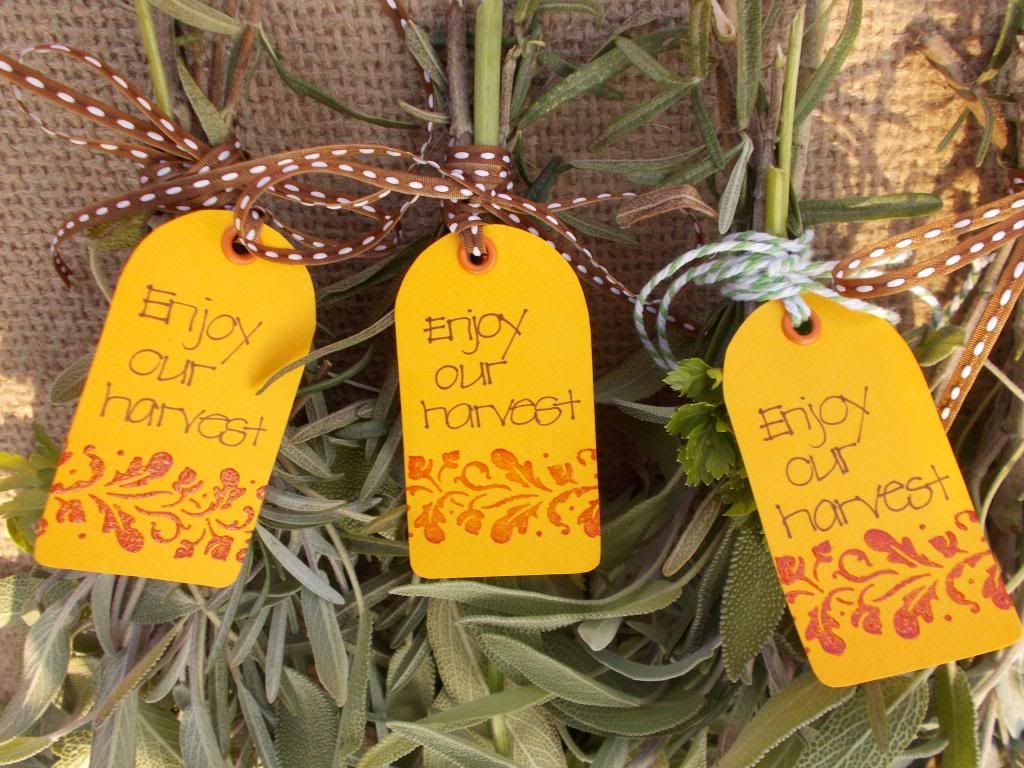
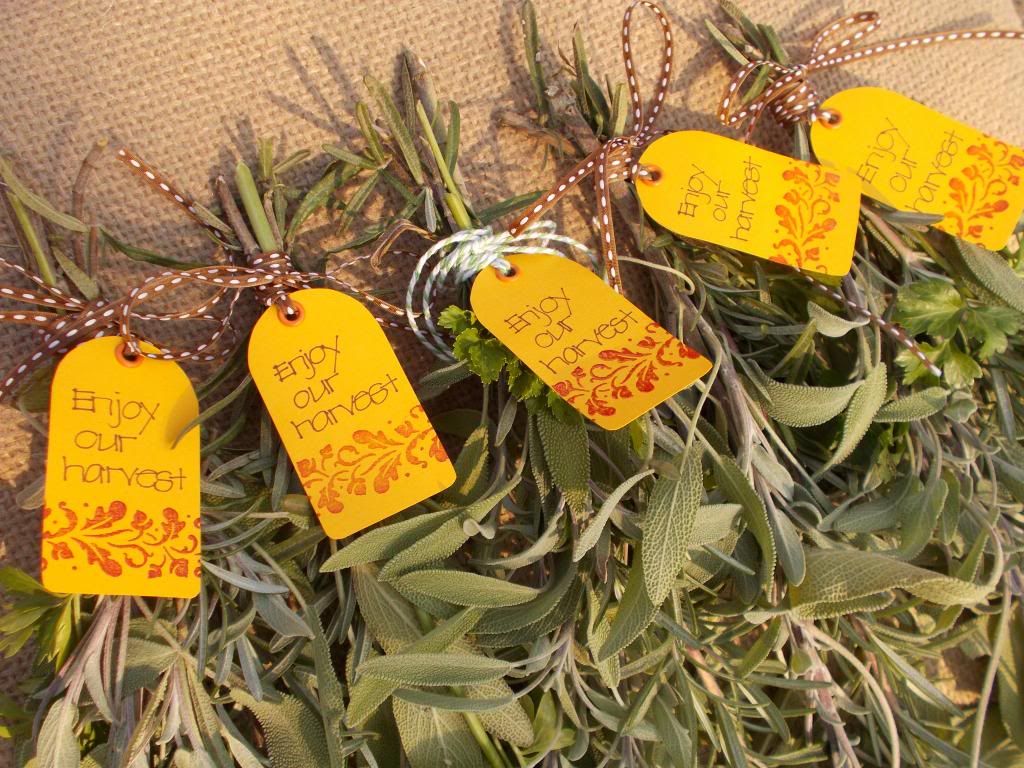
Today I am feeling a little bit better, and it is sixty and sunny outside. So I spent a few minutes in the backyard and harvested the last of my parsley, sage, and rosemary. Then I spent a few minutes in my basement craft zone and made a few tags. And then I tied the tags to some ribbon and bundled up the herbs, and ended up with these little goodies for my mom, aunts, neighbors, and friend:


In the past, I've been known to spend a lot of time driving around and hitting up craft stores, finding templates online, stamping, etc, to make a little project like this "just so" [aka "perfect"], and am even guilty of doing it throughout the past month, gathering items for the advent calendar that I was going to make for LG during this time off (didn't happen). But I'm glad today that I just did it, and did it simply. 

I hope everyone has a wonderful Thanksgiving. Think of me as you're eating all of your solid food. I'm thinking I may be able to manage mashed potatoes, sweet potatoes, and I will suffer for some of my parents' sausage stuffing. If you're local, I still have a little bit of these herbs in the backyard if you'd like some.


Related Posts Plugin for WordPress, Blogger...